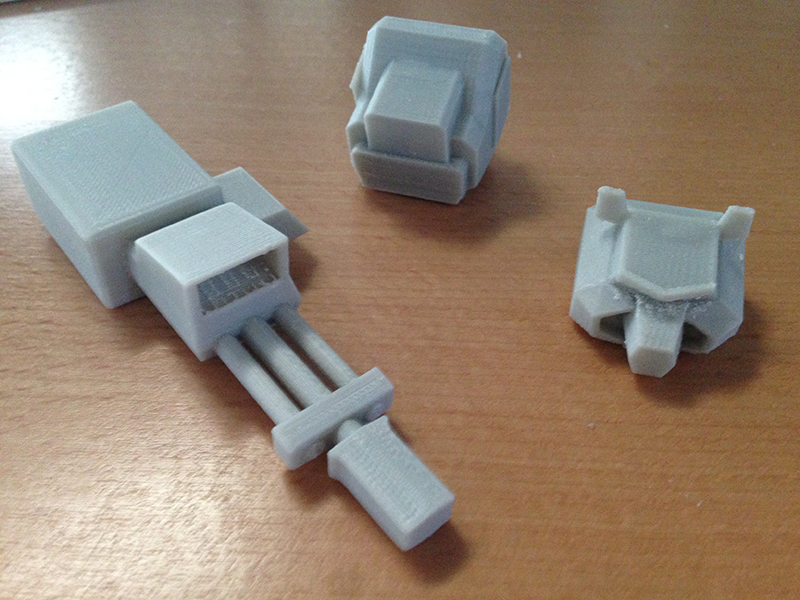
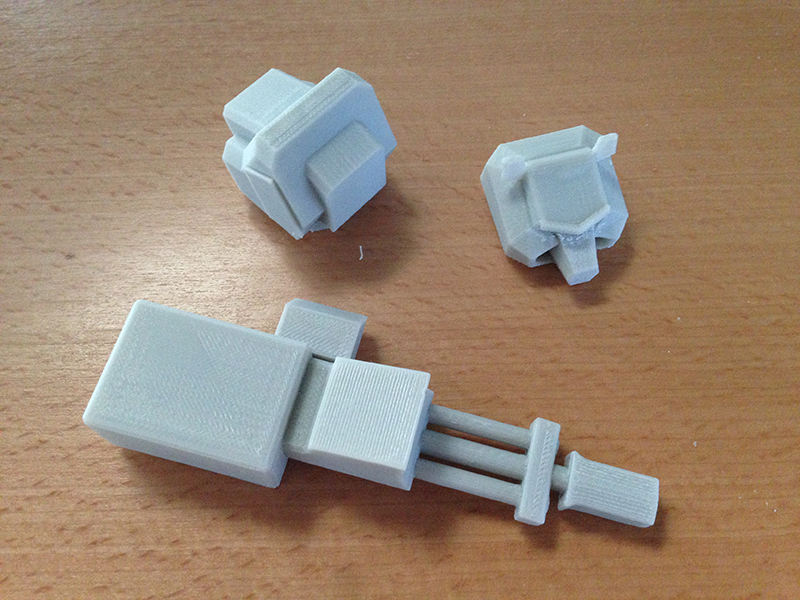
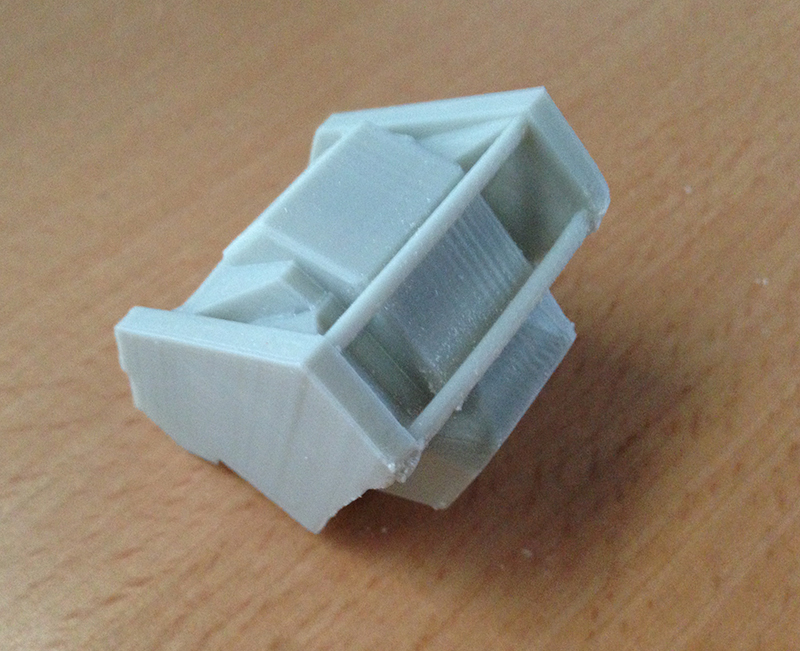
Around April of 2013 we started throwing around a game idea that involved bear-esque super giant death mechs. While the idea was ultimately scrapped for a variety of very good reasons, one mech was already loosely modeled in 3D. Over the next few months in free time around rendering we decided to print out 3 sets of pieces for 7" models.
Here is a chronicle of the first few trial and error steps we took through our most complicated print yet.
We used the Makerbot Replicator 2X with standard software and stock plastic - but as you can probably tell we didn't have enough time to 100% devote ourselves to trouble shooting issues that came up. Some are obvious user error, but many are just weird 'hauntings' that i have no way of explaining!
Hopefully these issues can help somebody out somewhere!

Here is where I first learned that mech orthos look super wonky. Only when it was posed more naturally in 3D did I stop second guessing myself.
Upper Torso
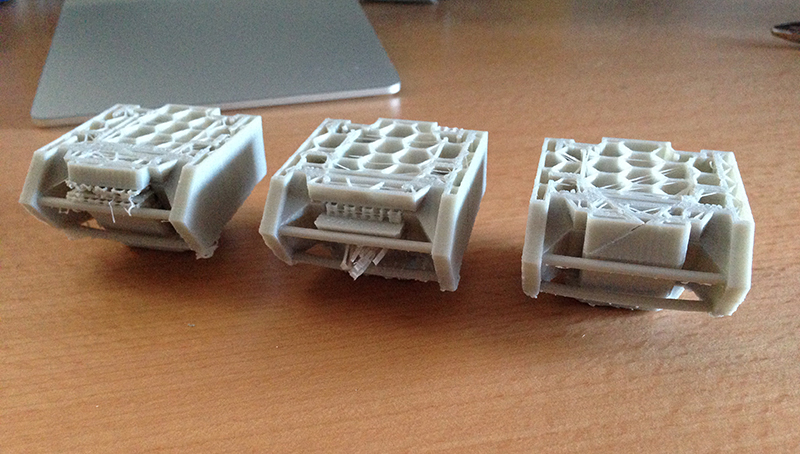
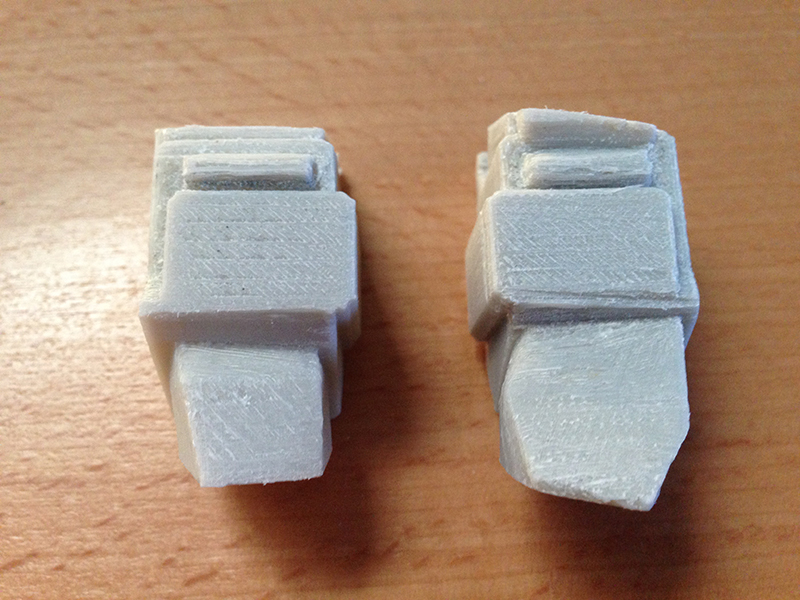
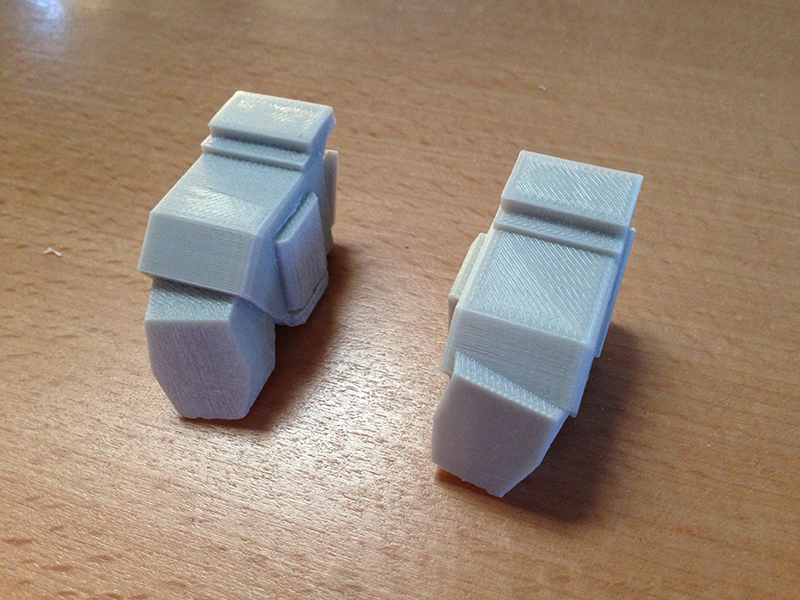
The chest blocks were printed all at once and were duplicated within Makerware. The right print was almost perfect except for the tessellation seam in the front. The other two left out complete sections of geometry and made weird slices seemingly at random.
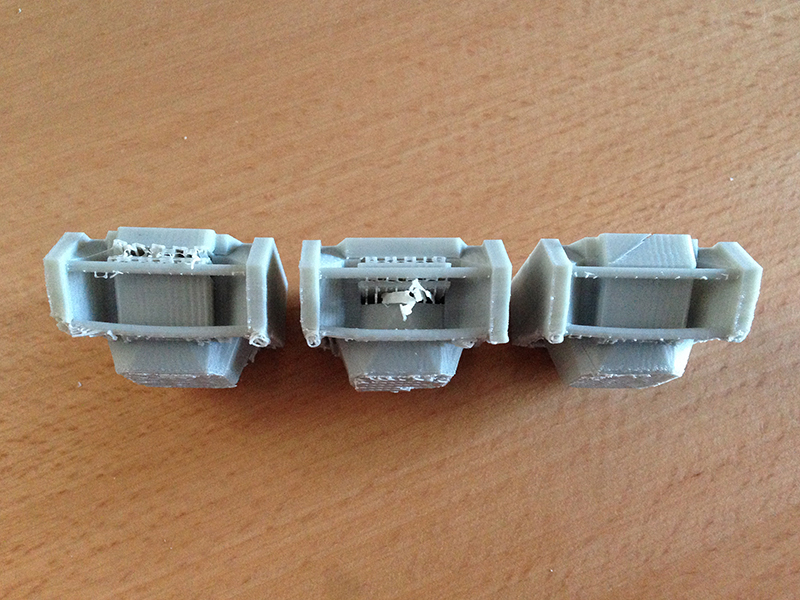
Another angle...
Arm Cannon, Hip Block and Head
Rocket Launcher
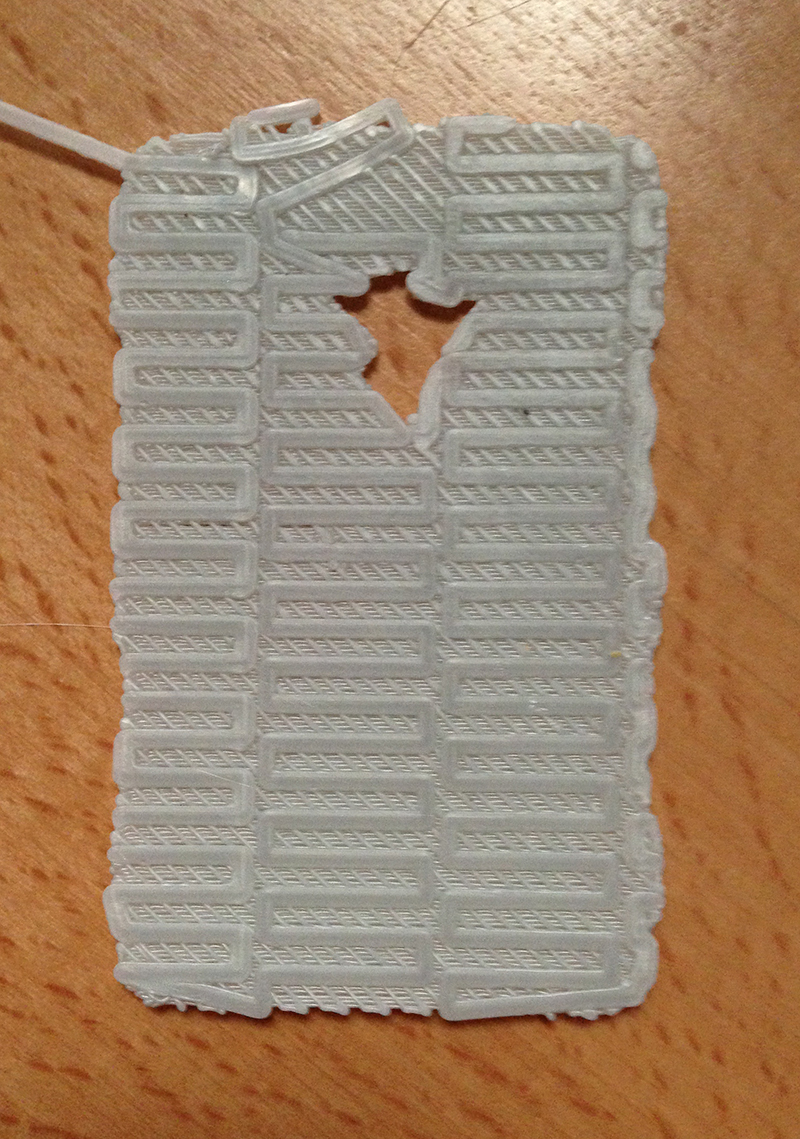
This is the first attempt at printing the rocket pod - essentially a beveled rectangular prism. Makerbot is trying really hard to completely hose the raft...
As noted this was the second print of the day. Minutes before we had finished a flawless hip block.
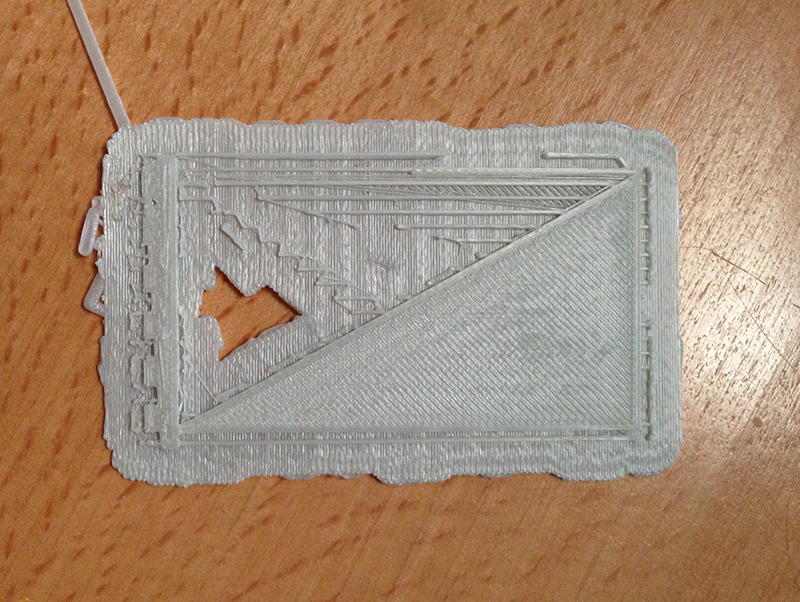
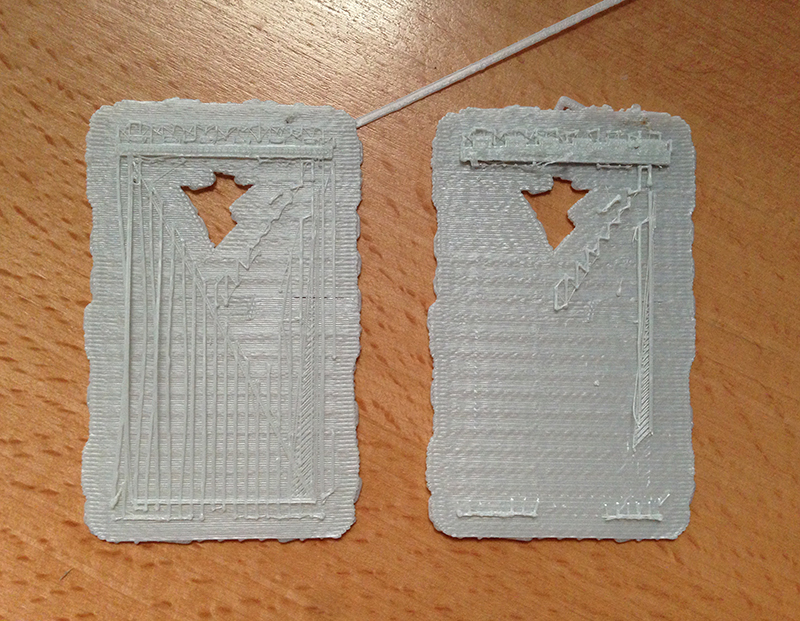
Second rocket raft printed and failed in the exact same way.
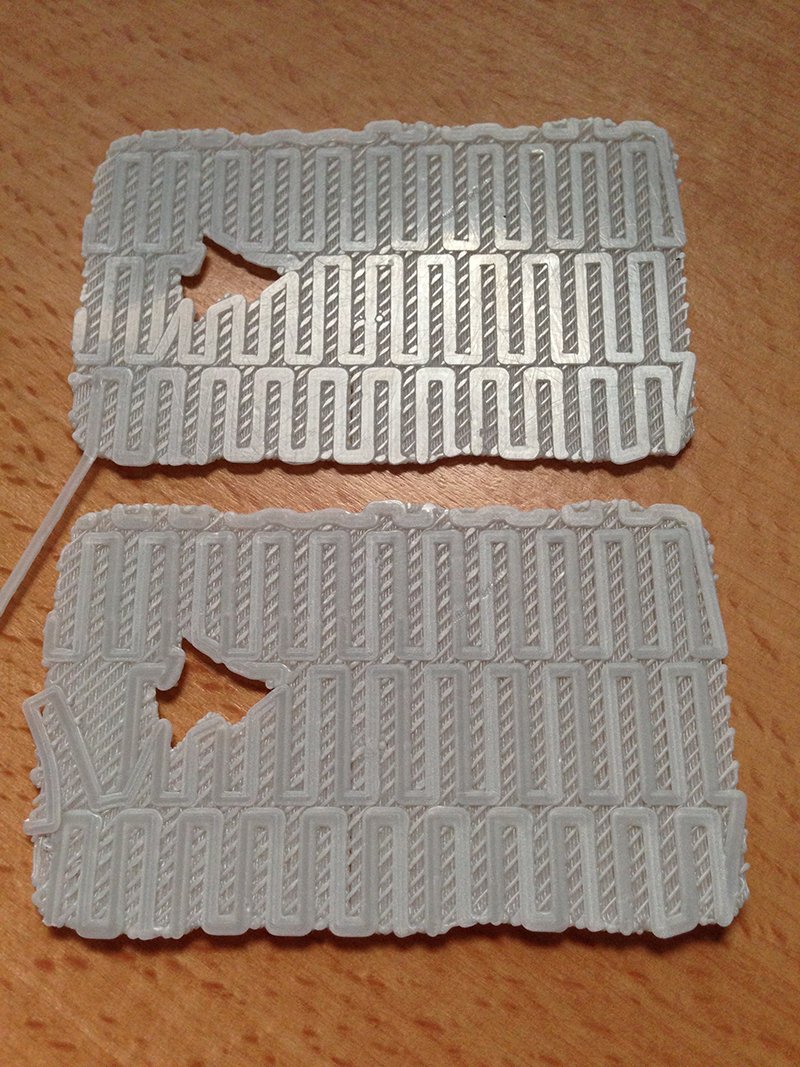
Raft-path detail

The left print was the same unmodified maya file but on the fast preset.
The right print was the model after being processed by cloud.netfabb.com - The makerbot seems hellbent on corrupting the raft print and everything above it.

To 'fix' the problem we rotated the model onto its edge...
Top Left: First print - Printed as shown. The detailing and final print were very close to what we were hoping for. No signs of the raft distortions shown above. Middle: Printed on its end to be taller in an attempt to avoid some of the raft marring that occurred on print 5. There were some major geometry issues on the very small front section that should not have occured, but nothing catastrophic... yet. Lower Right: We decided to rotate the model back to the long edge within MakerWare. Things were looking good casually, however upon closer look at around 80% we realized the internal structure was a nightmare of distortion. When we peeled off the raft shown below we realized it hadn't even printed a full bottom shell.

Here are the above 3 models with the print bed side facing up.
On the left one you can see some of the distortions we were trying to avoid - the aborted right one shows what the bottom looked like after we removed the raft.
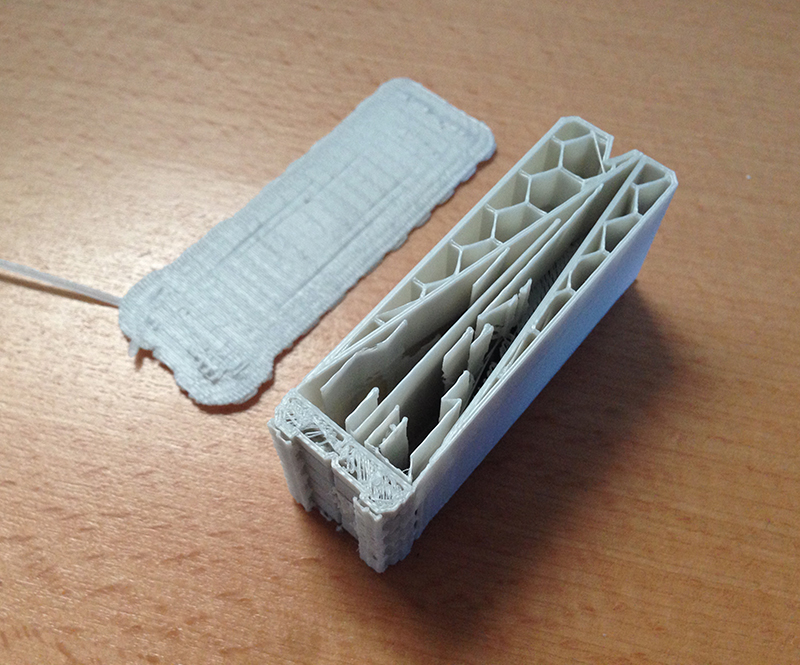
A closer look of the internals. All other prints have a proper honey combing.

Upper Left is attempt 7.
Lower Right is attempt 5/6. Note the proper lip before intersecting with the long broad side.
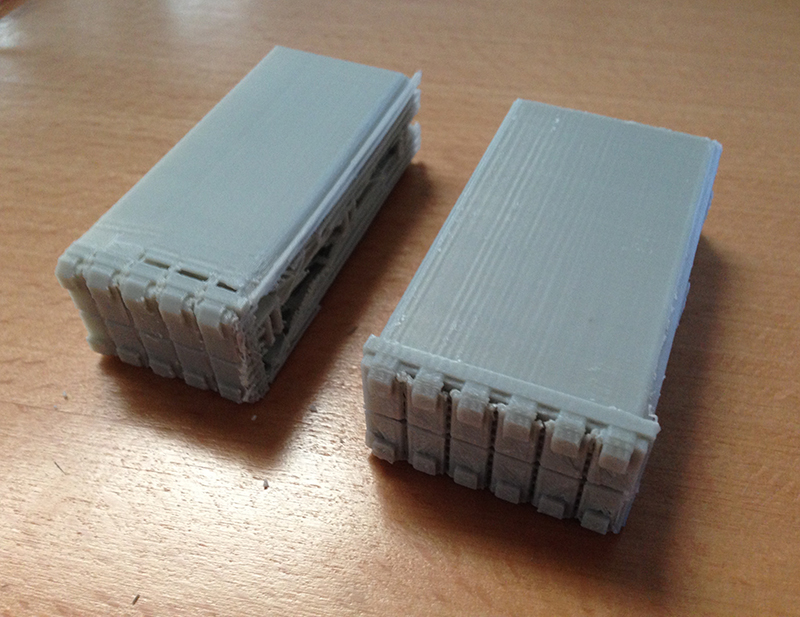
Upper Left is attempt 7.
Lower Right is attempt 5/6. On the opposite side the print wall failed to print...
Upper Torso - Attempt 2
Shoulder, "Forearm", Feet and Shin
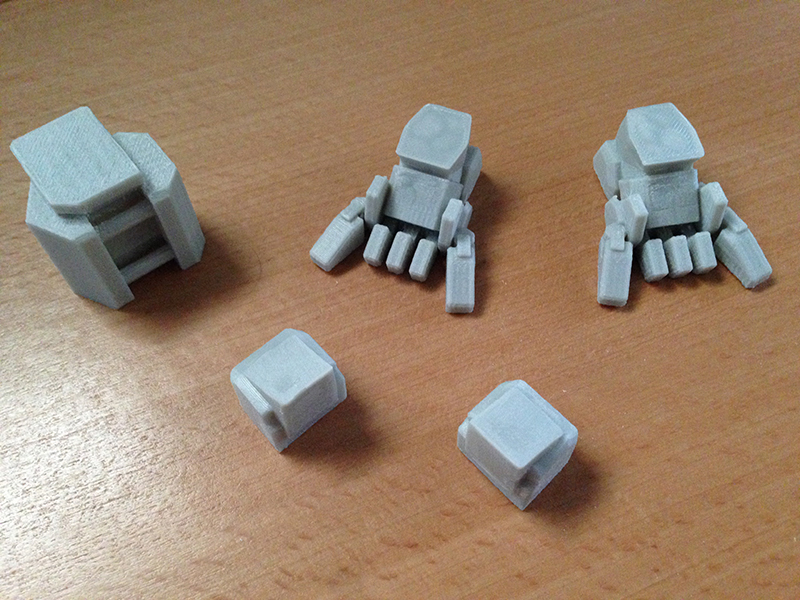
From Left to right:
Shoulder block, Arm connectors and feet.

Here is the shin - with details on some rough edges that cam out a bit wonky due to their print orientation. Considering the weird shape I am happy with the results.
We also have NO idea why the left one has a line that didn't print in the side panel compared to the right one that printed fine. This level of haunting wasn't worth dicking around with at this stage to us.
Hopefully in the next month or so I will get pictures of construction and painting. I've also seem to have lost images showing the thighs but other than their complex shape and the cleanup that involved we have somehow avoided many of the issues that have plagued us at the start of this project.
